# Setup Integrated Stripe Payments
### Steps to Set Up Stripe+ Payments:
1. **Login:** Access your admin dashboard at [admin.cloudwaitress.com](https://admin.cloudwaitress.com).
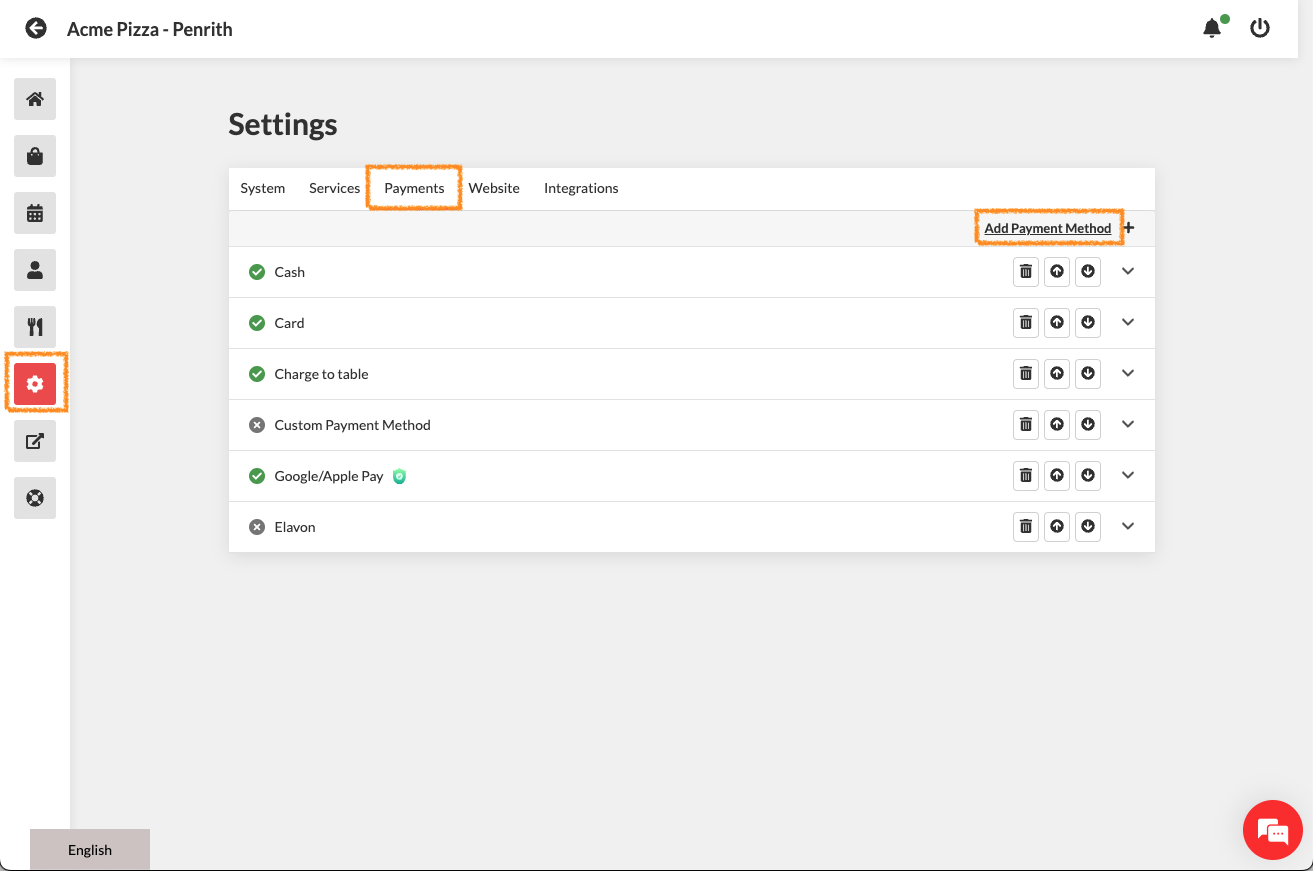
2. **Navigate to Settings:** Go to **Settings > Payments > Add Payment Method > Stripe > Add Method**.
#### Recommended Minimum Settings for Stripe:
| Setting | Recommendation | Notes |
| ------------------------------ | --------------------------- | --------------------------------------------------------------------------------------------------- |
| **Enabled** | On | Activates the feature |
| **Stripe Secret Key** | sk\_live | |
| **Stripe Publishable Key** | pk\_live | |
| **Currency** | AUD - Australian Dollar - $ | Use your local currency |
| **Disable E-Mail Receipt** | | |
| **Enable Custom Payment Form** | | |
| **Layout** | Themes | |
| **Services** | Label | Pay - Online |
| **Delivery Label** | Print Label | *PAID - ONLINE* |
| **Maximum Order Value ($)** | 999 | Set a realistic maximum online order total |
| **Minimum Order Value ($)** | 2 | Minimum transaction should not be lower than $2 |
| **SC Account ID** | GET THIS FROM SUPPORT | Example format - acct\_1A3abABCABCac1aA. Contact chat/email support to activate your SC Account ID. |
3. **Save Settings:** Press **Save** to apply the settings.
4. **Test Your Setup:** Launch your store and place a live test order using your card, Google Pay, or Apple Pay.
5. **Get Assistance:** For any issues or to activate your SC Account ID, please email or use the chat support feature.
{% hint style="danger" %}
Please email or use the chat support feature to get assistance activating this feature.
{% endhint %}
### Don't Have a CloudWaitress Account?
Visit [www.cloudwaitress.com](https://www.cloudwaitress.com) and click the **Sign Up** button on the top right to create your account.
{% content-ref url="using-stripe-integrated" %}
[using-stripe-integrated](https://support.cloudwaitress.com/how-to-guides/accepting-payments/stripe+-integrated-payments/using-stripe-integrated)
{% endcontent-ref %}